To convert a timer into a time entry and submit it to your firm’s time and billing system, you need to edit and fill out the timer information:
Timers have two Submit/Save options:
- SAVE / SUBMIT + will save or submit the timer and open a new, blank timer.
 SAVE / SUBMIT will save or submit the timer and close the Edit Time window.
Matter Search
When the Matter Search field is activated, a list of suggested matters appears, ordered by most recently used from the past 30 days. The number of suggested matters depends on your firm’s billing system integration.
If a matter is not displaying in the list of suggested matters, you can enter one of the following criteria and press Search:
- Client Name
- Client Number
- Matter Name
- Matter Number
Suggested matters also appear when hovering over the Add Timer button. These suggested matters are called Quick Timer Suggestions.
If you do not have final matter information, you can create a temporary matter. The temporary matter can be replaced at a later date. For more information, see Temporary Matters.
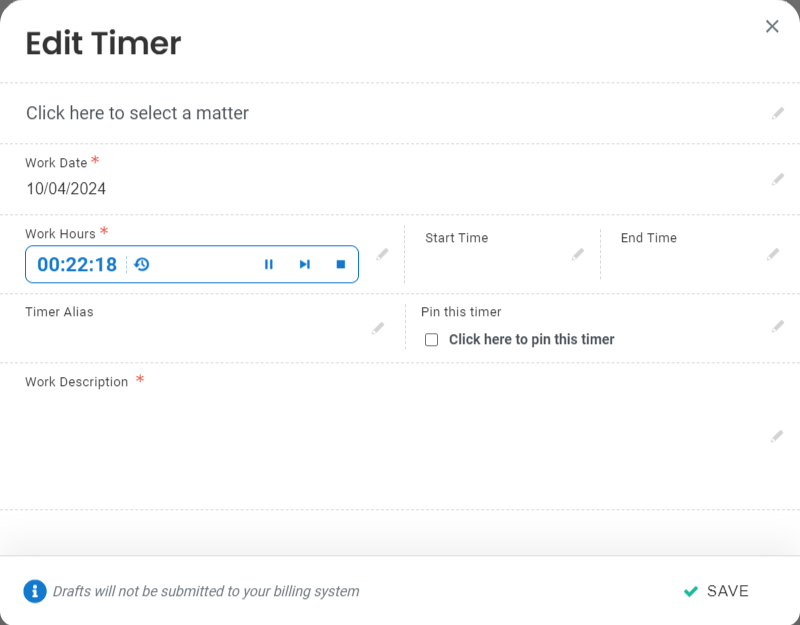
Timer Controls
To start a timer, click Start Timer on the navigation bar. Alternatively, any time entry for the current date can be used as a timer. To do so, open the time entry and click the Start Timer button.
Timers have three controls:
| Control | Function |
| Start or pause the timer. | |
| Open a drop-down where you can manually adjust the timer’s recorded value. | |
| End the timer, converting the counter to work hours and removing it from the timer view. If you set a start time, the timer will also automatically set the end time based on what was recorded. |
Timer History
Timers record each time they are started, paused and nudged. A timer’s values can be reverted back to any recorded point from the Timer History window. To access Timer History, click ![]() .
.
Warning: Once a timer has been ended, Timer History will no longer be available. Restarting the timer will start a new Timer History record.
Time Aliases
You can give timers aliases for them to display as within the iTimekeep web application.
To give a timer an alias, click on the desired timer and enter text into the Timer Alias field. The alias will replace the display of the Client and Matter in all iTimekeep views and screens.
Note: When a timer with an alias is printed, Client and Matter names are displayed instead of the alias.